If you have a one off game cartridge or console repair to tackle, but do want to have to pay for a Gamebit screwdriver to remove the security screw(s), then read on to explore the DIY substitute options.
To replace a cartridge battery, or access the inside of a games console, you will often need remove a security screw, sometimes a few, this requires a particular tool to remove, which is known mainly by its nickname "Gamebit".
The technical name for Gamebit security screwdrivers is line head, this type of Japanese screw was commonly used by in older games consoles. These are similar in style to torx, however torx are male whereas game bit drivers are female, and so Gamebit is essentially the reverse of torx.
There are risks involved with choosing to go down a DIY route and making your own tool, such as the risk of stripping or damaging the screw in the console which might prevent you from removing it entirely. Making a tool will require primitive modification of general household items or basic tools, and is best suited to someone with good DIY skills or injury may occur.
We do not recommend making your own tools considering the relatively low cost of purchasing them, and because DIY tools will likely have a short lifespan.
Please take the necessary safety precautions when attempting to make a DIY tool, it will be at your own risk, the below is provided for informational purposes only, and also advises why the options are not recommended compared to purchasing the correct screwdriver.
How to make a DIY Gamebit screwdriver
Bic plastic pen method.
This method involves a regular BIC pen and a heat source such as a lighter or blow torch, a stanley knife may also be helpful for trimming off any excess plastic.

Please take precautions when working with any heat source, this should only be attempted by an adult if at all, we do not recommend actually using this method. Ensure you do this in a well ventilated area as you will essentially be melting plastic.
To make a plastic Gamebit tool first remove the ink cartridge from a BIC pen and discard it, leaving only the hexagonal shaped barrel of the pen.
Using a heat source gently heat the smaller writing end of the barrel until it is soft, then press the pen onto a shallow Gamebit screw, such as one on the back of a game cartridge. You may need to repeat this until you get a full impression of the screw shape and a good hold on the screw. If you need to you can trim off some of the excess plastic around the edge caused by the melting of the plastic.
Once cooled and the right shape you should be able to get a good hold on the screw and undo it.
The issues with this method is that the tool is not very strong, and you may have issues getting access to some screws which are in a deeper recess, such as on some of the Nintendo models like GameCube.
Flat head screwdriver mod method.
This method of making a Gamebit screwdriver involves modifying a flat head screwdriver by grinding or cutting a chunk of metal out of the tip to make a two pronged fork tool.
Please take precautions when working with power tools to create this modded tool, only adults with good DIY skills and power tool experience should attempt this, we do not recommend making this tool due to risks of possibly injury, and because of the effort involved compared to buying the tool for a relatively low cost.
To make this tool you will need to use a metal cutting tool such as a grinder and or small hacksaw, a file can be used to remove any burs and sharp bits.
The aim is to cut a chunk out of the middle which is the same width as the indents in the screw head, which will allow you to bite onto the screw and release it.
Below is an example of how it might look once the piece is cut out.
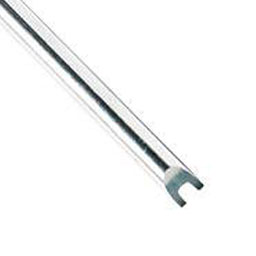
The issues with this method is that a screwdriver has to be sacrificed, which may have a value to you greater than what it costs to buy the tools. Other issues include not getting a true grip on the screw, which could damage the screw or break the tool depending on the strength of the metal.
There is some effort and risk of injury in making it, however it is the best of the DIY options available, if you are going to make one of the two most common DIY options, this is the one that is most likely to work.
DIY vs purchased Gamebit.
A properly manufactured Gamebit screwdriver set is a must have for the retro gamers toolkit, they last a long time and ensure that screws are not damaged, retro gear can be opened again and again without issue. They are relatively cheap, readily available and guaranteed to do the job every time without damaging anything.
The Bic pen method is generally not worth even starting due to the low durability of the solution, but it might get you out of trouble once.
Modifying a flat head screwdriver to a two pronged fork is really the only viable alternative, but with the relatively low cost of the right tools it seems like a lot of effort. It may take some of trial and error, and you might have to waste a couple of screwdrivers before you get it working, there is also a risk that the prong on the modified head could snap, it depends on the metal quality.
If you decide you want to take our advise and buy a set of professional Gamebit screwdrivers, you can check out the two options we offer below:
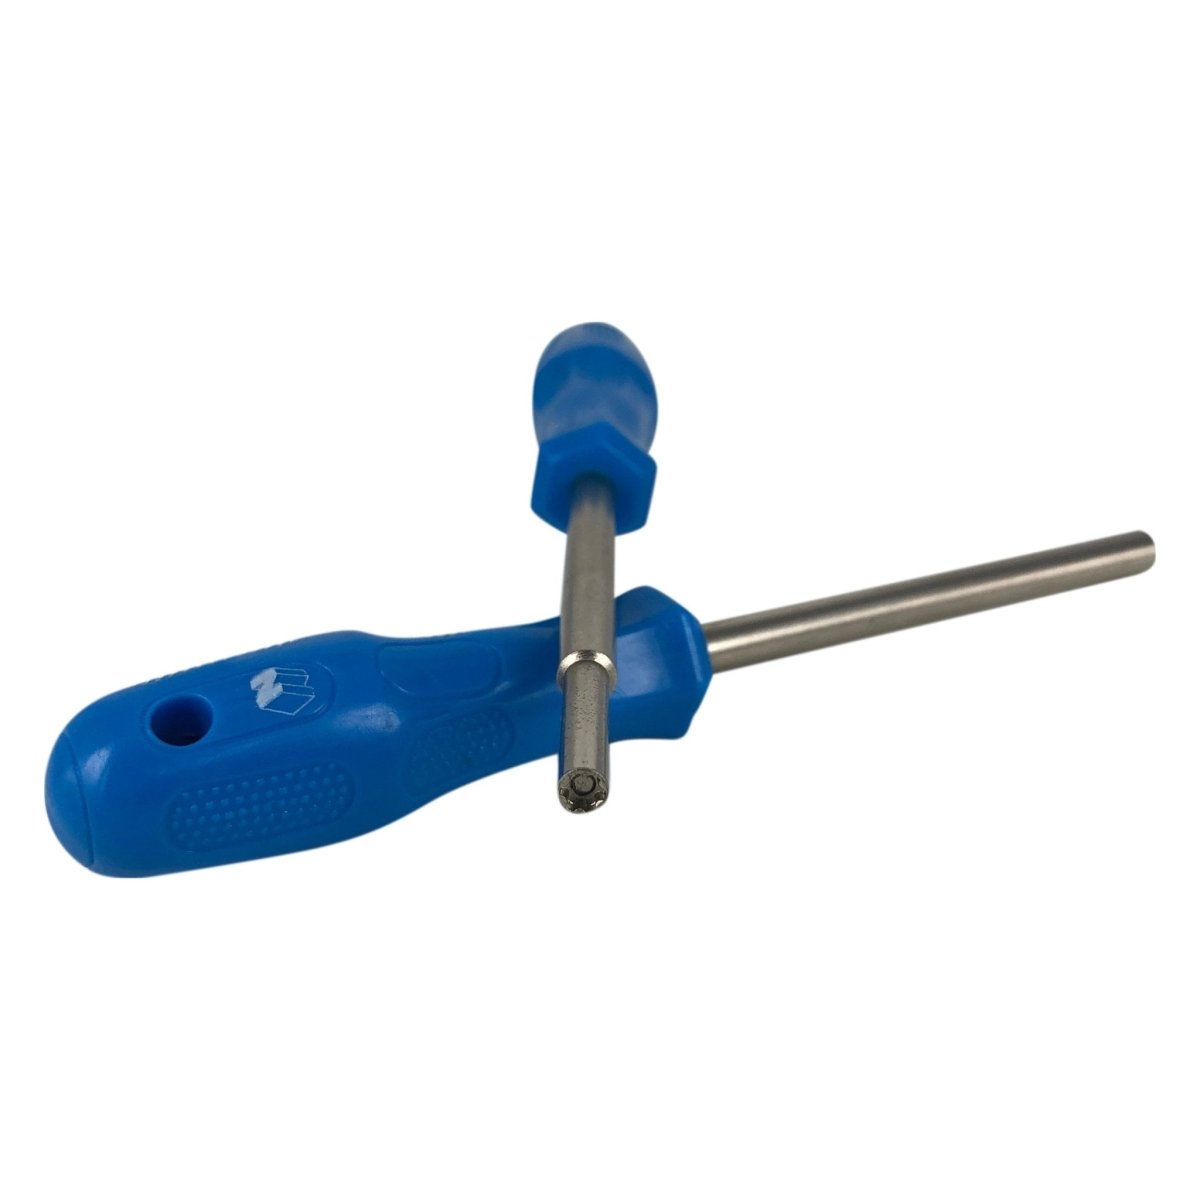
Gamebit screwdriver set 3.8 & 4.5mm security bit tool
3.8 & 4.5mm gamebit security tool bit set
Whatever you decide to do, having a tool to remove the security screw is perfect for replacing dead batteries, replacing lasers and completing general maintenance such as cleaning, which is often vital for the older consoles.
Gamebit compatibility list:
Consoles & other hardware:
Nintendo:
SNES
N64
GameCube
Virtual Boy
Super Gameboy
N64 rumble pak
Sega:
Sega Megadrive (Genesis)
Sega Mastersystem
Sega 32X
Sega Gamegear
Sega Nomad
NEC:
Turbografx 16
Turbo Duo
Game cartridges:
Nintendo:
NES
SNES
N64
Game boy
Game boy color
Virtual Boy
Sega:
Mastersystem
Megadrive
Gamegear