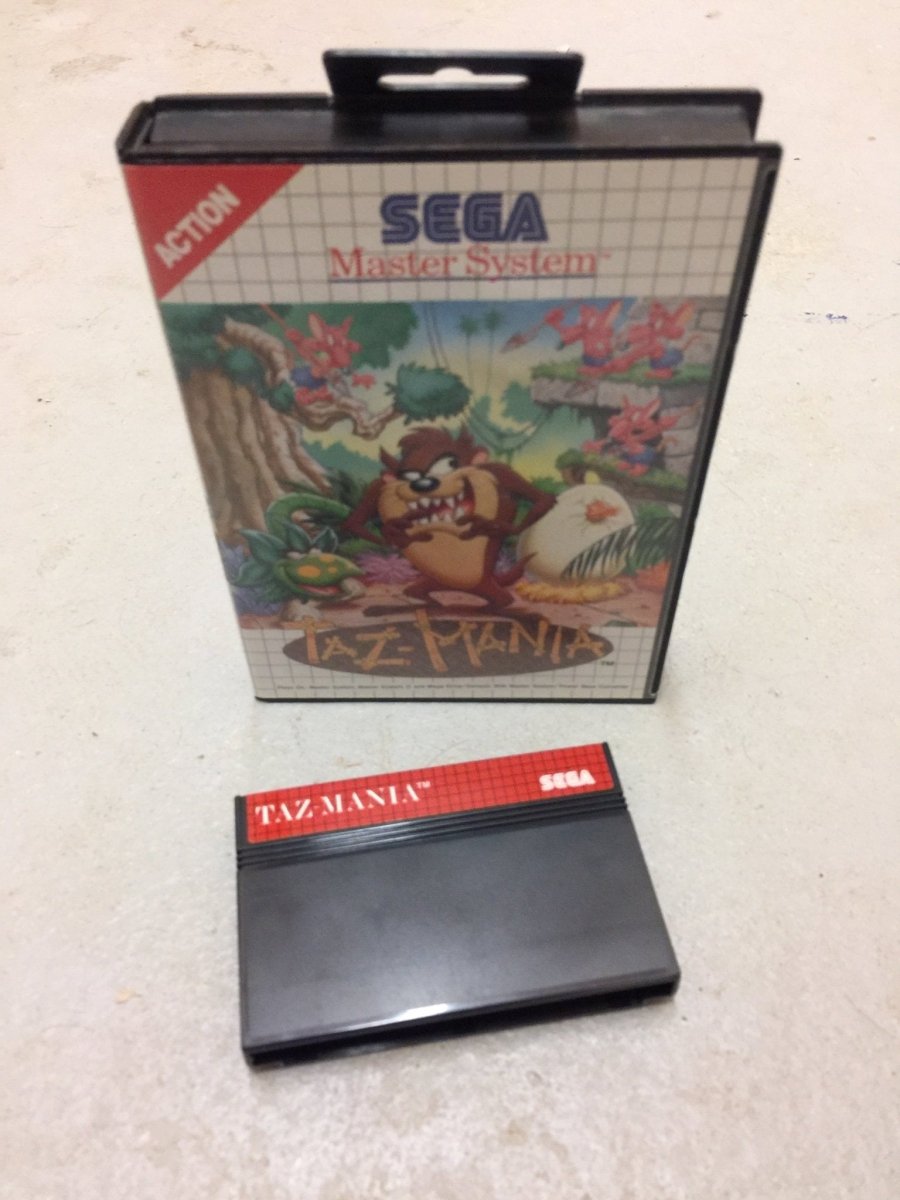
Like many older consoles the Sega Master System used a cartridge format for storing the games you can play on the system. Essentially cartridges are printed circuit boards with a memory chip as you will see below. Some cartridges have an internal coin sized battery too, but in the case of this Sega system what you find is a memory chip referred to as a ROM (read only memory) chip, a capacitor and a resistor.
To access the game circuit you first need to open the plastic housing, in the case of then Sega Master System you will need a 4.5mm gamebit screwdriver to remove the to screws at the back. Once the screws are released the housing shell simply pulls apart. The circuit is the revealed, resting on two plastic posts, you can simply lift the circuit out of the plastic case. It is always advisable to not touch the circuit too much if possible, picking it up from the edges only when you need to.

What if my game is not working?
Firstly it is important to note that there are man you possible reasons for a game to not load, so this is not a definitive guide, what we will cover is what you can try with the cartridge itself.
As mentioned already, there is no battery to worry about here, so what else might cause a problem? Well dirt and dust is one of the most common causes of issues with this older tech.
Firstly visually inspect the cartridge circuit for any kind of corrosion, this would normally look like a blue or green coloured power like substance which is usually caused by water or moister exposure. If you find this anywhere one the circuit you will need to try and clean this off, you can try using a q-tip swab and some isopropyl alcohol (rubbing alcohol).
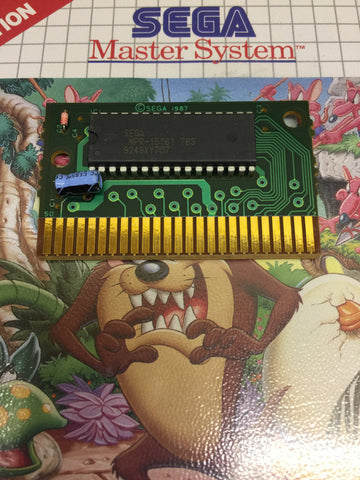
Even if your cartridge looks clean of corrosion you will need to turn your attention to the gold contacts at the bottom of the cartridge and given them a clean. To clean these you would use the same method of a q-tip and rubbing alcohol to get any dirt off those contacts. Even if the year look clean you will probably find there is a thin layer of dirt build up on these contacts.
Once you have fully cleaned the circuit you can go ahead and out into back together, simply lay the circuit back into the plastic posts, put the back on the plastic casing and tighten the two screws.
Now it is time to give your newly cleaned game a go, insert it into your Master System and power it up, fingers crossed it will now load.
If it does not load do not panic, the system itself can be serviced in order to bring it back to life, we will cover this in another article.