


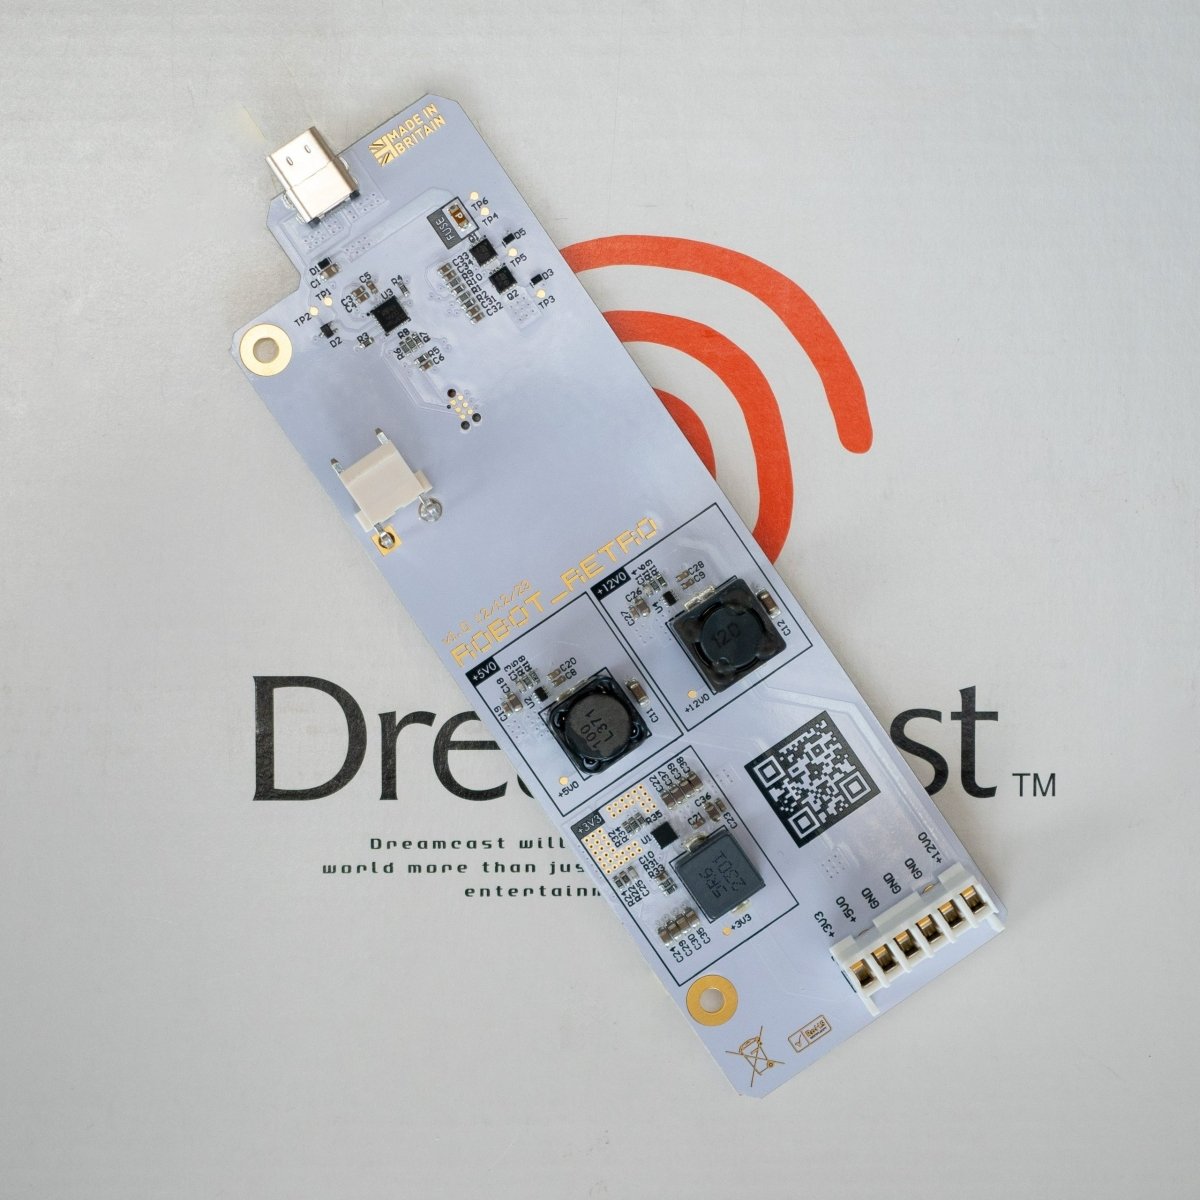
Platform: Dreamcast
Brand: Robot retro
Ean:


Your payment information is processed securely. We do not store credit card details nor have access to your credit card information.
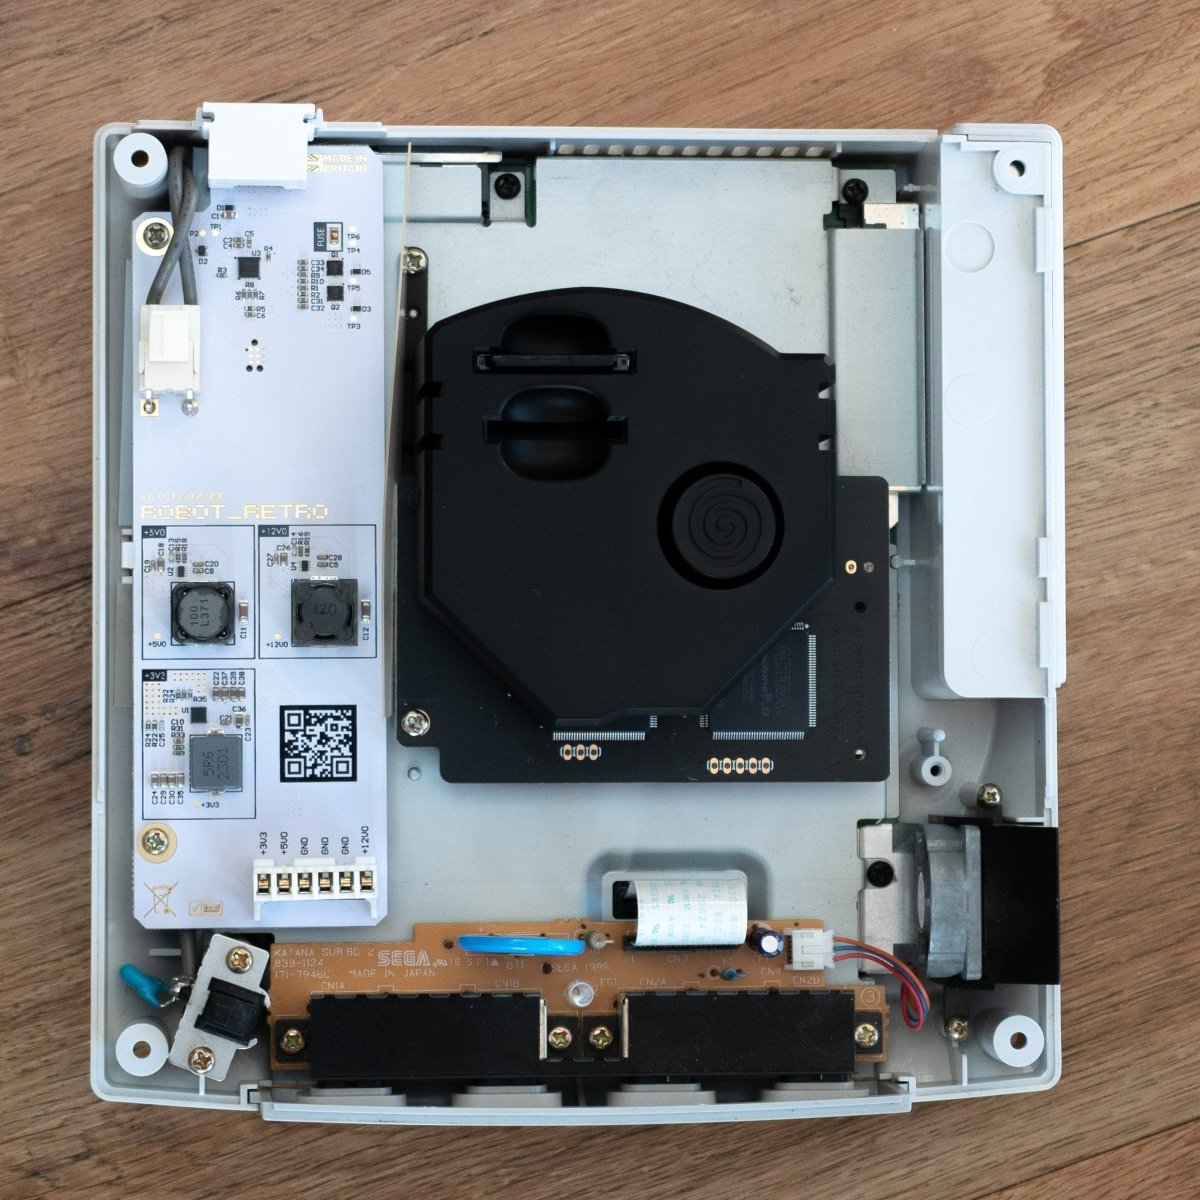
Platform: Dreamcast
Brand: Robot retro
Ean:
Prices shown include taxes for the following countries/regions:
European Union – VAT (IOSS)
Australia – GST
Norway – MVA
United Kingdom – VAT
If you're ordering to one of the above regions, VAT (sales tax) is collected at checkout, and your order will be delivered without any additional tax or duty charges.
USA:
United States - DDP (Direct Duty Paid)
From 27 August 2025, the $800 de minimis tariff-free threshold for imported goods no longer applies. All products manufactured outside the United States are now subject to import tariffs, with rates varying depending on the product category and country of manufacture.
Any applicable tariff costs are included in the product prices shown, and all customs processing fees are included in the shipping charges displayed at checkout. This means your order will be delivered without any additional charges to pay on arrival.
We continually monitor changes to US import rules and update this information as needed.
Canada:
Most orders under $20CAD will not be subject to any Duty or tax charges, you should check your local import rules to confirm any charges that might become due. The vast majority of gaming related products are made in China and typically zero duty rate in a large number of countries, you should check this yourself to confirm, we cannot offer any formal guidance on charges that customs might apply for your order.
Other destinations:
All of our products are shipped from the UK, any import duty or tax will be based on either the shipping country or goods origin depending on your local import rules. Most gaming products are made in China, and most fall under a zero duty rate for many countries with the exception of the USA which has imposed base rate tariffs for most goods.
For all other countries not listed in the above sections, local import VAT, sales tax, or customs duties may be charged by the carrier prior to delivery. Please check your local customs regulations before ordering — you are responsible for any additional import charges that may apply.


