Features:- Drop-in USB-C PSU Replacement - simply install and play.
- Universal Compatibility - Works with all regions
- High Efficiency & Low Noise - Delivers up to 96% efficiency at typical loads.
- Fan Support - Includes 5V fan headers for improved cooling options.
- Customizable Power LED
- Requires compatible USB-C power plug (not included)
Description:
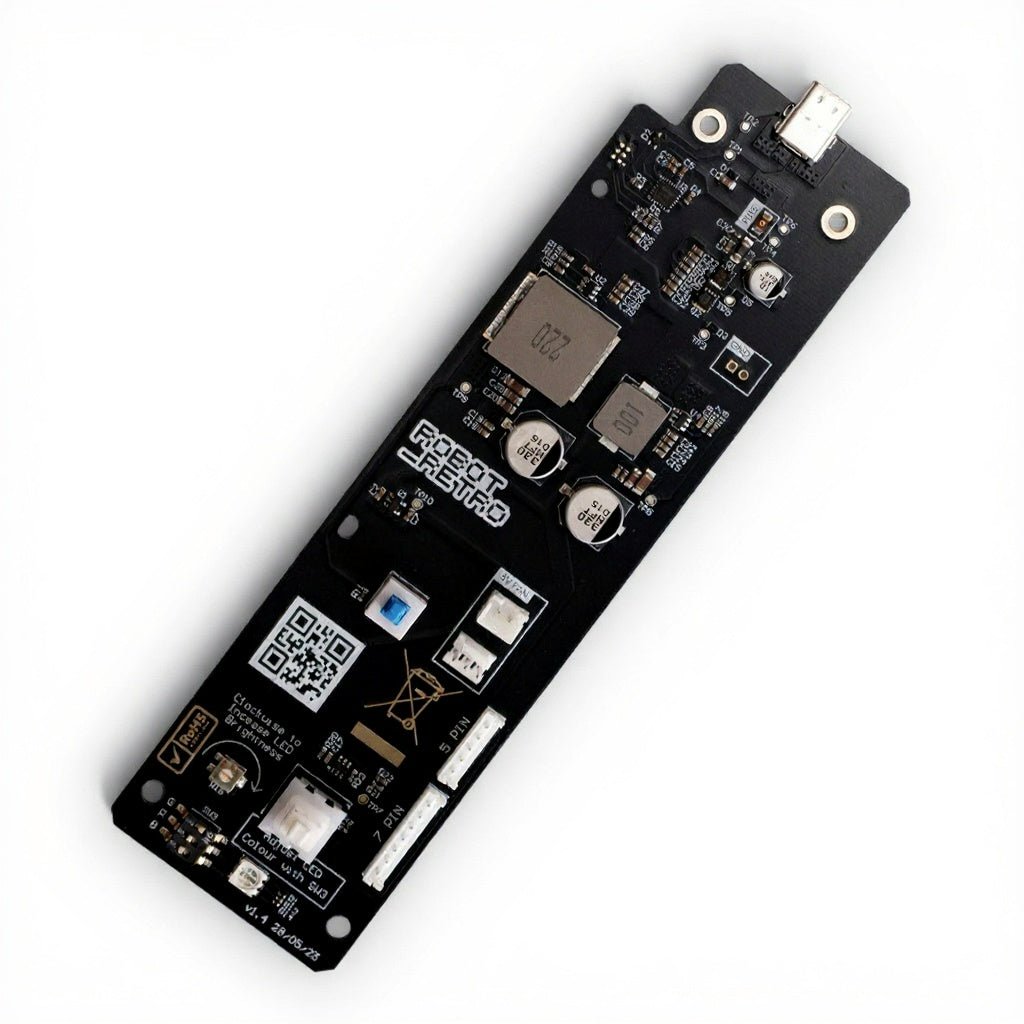
Revive your classic fat PlayStation 1 PAL, NTSC, or Japanese console with this elegant, solder free USB-C power board by RobotRetro. A sleek and safe replacement that upgrades performance while preserving that authentic gaming experience.
The replacement board drops into place with plug and play installation.
Works with all PS1 models (PAL, NTSC, Japanese), xStation, MemCard Pro, and more. Supports both 5-pin and 7-pin connectors for full revision coverage of the original “Fat” PS1 console.
Delivers up to 96% efficiency at typical loads. Ripple tested at ±5mV across all voltage rails for low noise and minimal heat generation.
Not compatible with PS1 slim.
What Sets the robot_retro Power Board Apart:
Powered by USB-C PD (Power Delivery) - Compatible with 15V or 20V PD chargers. Most 30W USB-C adapters will work, including models from Anker, Dell, uGreen, and the official Nintendo Switch charger.
Recommended: uGreen Nexode Mini 30W or Nintendo Switch Power Supply for optimal quality and value.
OEM-Matched Reset Logic - Power-on delay timing matches the original Sony board to ensure flawless performance and compatibility.
Safe and Reliable - Built-in protection against overvoltage and includes a fused input for peace of mind.
Region Protection - Prevents damage caused by incorrect mains voltage (e.g., plugging 240V into a 110V system).
Aesthetic Touch
Install spacer included - Comes with a grey 3D-printed spacer. Additional colours available via downloadable STL files.
Installation:A Phillips #2 screwdriver is recommended for the install.
1) Unscrew the six screws on the bottom of your PS1 (see photo).
2) Remove the top lid and unscrew the two power board screws.
3) Fit the robot_retro board in the same position as the original power board.
4) Install the provided 3D-printed spacer and replace the two power board screws.
5) Reassemble your console.
Browse the range